Can I help you find something??

30 June 2013

So long, farewell, googlereader says goodbye...

I hate (for you) to go and leave this pretty sight...


How is it the end of June already?! This means the end of another month, the end of the financial year in Australia, and, the end of Google Reader.

Luckily I have remembered to transfer my blog lists across to Bloglovin (today of course, we don't want to be overly organised or anything) and have just wondered if you have done the same??

 Here is a "how to" guide on importing your blog lists from Google Reader to Bloglovin if you're not entirely sure how to do this.

We can't bear the thought of saying adieu, adieu, to yieu, and yieu and yieu... 


So, be sure to follow meg-made on Bloglovin, or whichever reader you go with from here on in, 

Follow on Bloglovin

And I hope you like, to stay and taste your first champagne...


And all of the many other glorious foods and drinks and creative pursuits that you'll read about on meg-made! I really hope you come across with me, I'd hate to say goodbye to you already!!!!!

post signature

June Foodie Penpal

This month's Penpals came around so quickly it felt like!

I had so much fun shopping for my Penpal Deirdre and found a few fun ingredients that I had never heard of before. Have you ever used mace before?? Apparently it comes from the same evergreen tree that nutmeg comes from, and has a similar warm and nutty flavour, but hopefully Deirdre will let me know how they differ. I found some BBQ sea salt, which I thought would be awesome simply seasoned on a good steak. I find that porcini mushrooms are a little difficult to come by in London, so when I found some, I got some for us and some for Deirdre too. There were a few other goodies too, including some decadent sounding chocolate and tea too. 

This month I was lucky enough to have Lisa as my penpal. Lisa lives in Northern Ireland with her hubby and is definitely a foodie. I had so much fun going through my immense pile of goodies this month!! 


1. Tiger gourmet sea salt & vinegar Potato Chips. These are gluten free, dairy free and free from artificial colours and preservatives. They look truly gourmet, I can't wait to dunk them into a decadent salsa soon!

2. Twinings Peppermint & Nettle tea. I love herbal teas and as I can't have caffeine, this is a perfect tea for me to enjoy. The peppermint helps with tummy troubles too, so it is a calming and settling tea for me to have after eating. 

3. I'm so interested in the little pouch of "recipe inspirations kit".. There is paprika, garlic granules, sage, rosemary, thyme and oregano. What a great idea! As soon as I saw this I thought that I now have travel herbs!! We usually book a self contained holiday abode so that we can do our own cooking when we are on vacation as we enjoy cooking so much. This would be perfect to take with us so that we can season meals without buying and wasting a whole jar of spices. 


4. Sugar Sheets. Edible zebra print stickers! How cool is that!!! I got some animal print cupcake liners last month, I'm thinking my penpals are conspiring for me to hose a safari party soon!! I think these are just so cute and can't wait to give them a go. 


5. There were a few little gluten free chocolate bits, which unfortunately I won't be able to eat, but Mr M is pretty excited that he's got some treats in my parcel this month!! I just tossed the 9Bar in his workout bag for a post-gym-energy snack as he's walking to work in the morning. He's a happy man. 

6. My favourite two items are actually non-food items this month. The heart muffin molds and novelty baking tins are just so adorable, and i'm always loving new baking items. How adorable will it be to make little quiches and pasta bakes for Baby M and freeze them in love hearts. And the baking tin is just the perfect one person pie dish. 


Thank you so much to Lisa for such a fun and varied box of goodies this month. It felt like I was delving into Mary Poppins' carpet bag, it seemed like a never-ending box of treats. 


If you're interested in joining the Foodie Penpals, the European set-up is organised through Rock Salt, follow the link to find out more and to sign up. The set-up in the USA is through The Lean Green Bean. It really is so much fun so if you enjoy trying new foods and meeting more people in the blogging community, get involved!!

post signature

28 June 2013

Berry Cream Brulee with Gold Leaf

This Raspberry Cream Brulee was the talking point of Baby M's 1st Birthday party! It was delicious, for sure, but eating gold....well who doesn't love doing that! I thought of the idea of putting gold leaf in one of the desserts was incredibly decadent and entirely appropriate for our baby's first birthday!! hehe sure sure. 

Unfortunately in my mad rush to get everything finished, I only took just one photo of each dish, and I don't think this shot does is much justice! 


Luckily my friends are keen instagrammers and so snapped these as well! 


I have been using the same recipe for Creme Brulee for a while now and I absolutely adore it. It has yet to fail me and is actually pretty simple to make. The recipe is out of Surfing the Menu by Curtis Stone too, so I mean, he has the sort of face you can trust right?! The recipe uses marscapone cheese as the base, which I knew from the get go was going to be a winner for us, we have an unhealthy obsession for the stuff and consume far too much than is good for you. But heck its delicious.

This is the recipe for Raspberry Creme Brulee, that simply has whole berries in the base of the dessert. I made a variation of this for the party, but will explain how to do that part at the end. 

Ingredients
1/3 cup of caster sugar
3 egg yolks and 1 full egg
3 tablespoons of milk
300ml of cream
250g of marscapone cheese
Raspberries
Demerra/raw sugar

Method

1. Heat milk and cream in a saucepan until almost boiling, but not quite. 


2. In a separate saucepan, combine eggs and sugar.


3. Whisk eggs and sugar until pale and creamy, only a minute or so.


4. Add the marscapone to the egg mix, 1/3 at a time and whisk. The mixture should now be fairly thick and smooth, however it doesn't make any difference if it is a little lumpy at this stage, it smoothes out completely in the next step, so there is no need to worry.


5. Add the hot milk/cream mixture to the egg/marscapone mixture and whisk over a low heat.


6. While the cream mixture is slowing heating, you can prepare the raspberries. Simply put a few raspberries in each dish that you will serve the creme brulee in. The recipe said 3 in each, I think that is a little frugal!


7. After about 10 minutes of stirring, the cream mixture (which is now "creme") should have thickened and needs to be strained into a jug. This is to get out any of the egg bits that didn't mix, or any of the creme mix that has hardened from cooling. This step is really important, you don't want your finished product to have any "bits" in it!


8. From here, you want to pour the warm creme into the prepared dishes for serving. This quantity would serve 4 smaller sized portions, or 3 happier sized ones!


9. Once all the creme has been evenly poured over the berries, they need to set in the fridge for a few hours. The recipe recommended overnight, but I don't have that kind of patience, so popped them in the freezer for 20 minutes to help speed up the setting process! This is so they form a little film on top for the caramel to set on top of. 

10. Once they have set, pour a couple of teaspoons of raw/demerra sugar over each one and spread evenly over the top. 

11. Now for the fun part!! Using a blow torch, slowly melt the sugar and torch until it has started to brown. It will be hot like lava, so don't attempt to touch it until you have allowed it time to cool first. Give it a gentle tap with a spoon to test if it is ready, it should be hard and likely to crack under pressure (aren't we all....). 


12. Serve with a few more raspberries and enjoy!


Berry variation used for the birthday party

1. Using fresh or thawed out frozen berries, blend about a cup of berries until smooth. 

2. Strain over a fine sieve to remove all the seeds. You don't want a crunchy creme and they will discolour slightly, so its best to remove them. 

3. Slowly pour into the creme at step 6 as it is thickening up. This allows you flexibility as to how much berry coulis you want to add depending on colour, flavour and thickness. If you've added quite a lot, it may take longer to thicken. 

4. Continue as above and if you want to be fancy pants too, add some gold leaf on top of the hardened caramel once it has set and cooled. 

As you can see, I served these in shot glasses, which was lots of fun for a party, and this quantity made 16 mini Creme Brulee's.


post signature

Photo Phriday #12


post signature

26 June 2013

4th July preparations

Are you getting all of your stars and stripes ready for 4th of July?? (Nope....me neither!!) But I AM getting them ready for my American friends and family!! I wanted to make a few headbands and thought that if my friends like them, then perhaps others would too, so I've made a batch for my Etsy store. 


Because the date is fast approaching, I am giving meg-made readers a 20% discount on their entire order until the 4th of July. All you need to do is go to my Etsty store and at the checkout, enter the coupon code of 

4THJULY

and you'll get a 20% on your entire order!!!! I'll ship them straight away so if you order in the next few days, they'll be with you in time!!

I am making all headbands for girls aged from newborns up to 6+ so don't panic if you have a special little 4 year old that you think would love a headband, I'd love for her to have one too!!!!


We are looking forward to celebrating the 4th with friends, how are you going to celebrate??

post signature

25 June 2013

Sweet Things Cakery (GF) Review

Whether you know me personally or know me blogally, you know I love cake. I enjoy baking cakes as much as I enjoy eating them, but it has been a love lost a little since becoming gluten intolerant. I am finding ways of making GF cakes taste okay, but they still have a different taste and texture and it makes me a little bit sad. So when I heard of  Sweet Things, a bakery cakery in Primrose Hill who make some gluten free cupcakes, I knew i had to get myself there IMMEDIATELY! (Ok, and so immediately turned into 6 weeks later that we found time on a leisurely Sunday morning to walk there... but you know!). 

First off, Primrose Hill is gorgeous! Who knew!!! We loved the park and views over London and found the High Street to be very charming. 


Upon entering the store, you are inundated with "sweet things'. They are literally everywhere!!!!


How incredible are these tabletops?! It confused the heck out of my little 1 year old, but I enjoyed the novelty factor without the frustration, and thought it was such an effective way to decorate a cakery without spending a fortune! (by the way, cakery, cool huh!).


But enough chit chat about decor, lets go inside and taste the goods...For the non-flour-challenged amongst you, you would be more than content with the range of flavours available. Apparently the Salted Caramel is their best seller, but the Peanut Butter, Eton Mess and Oreo looked pretty good too!


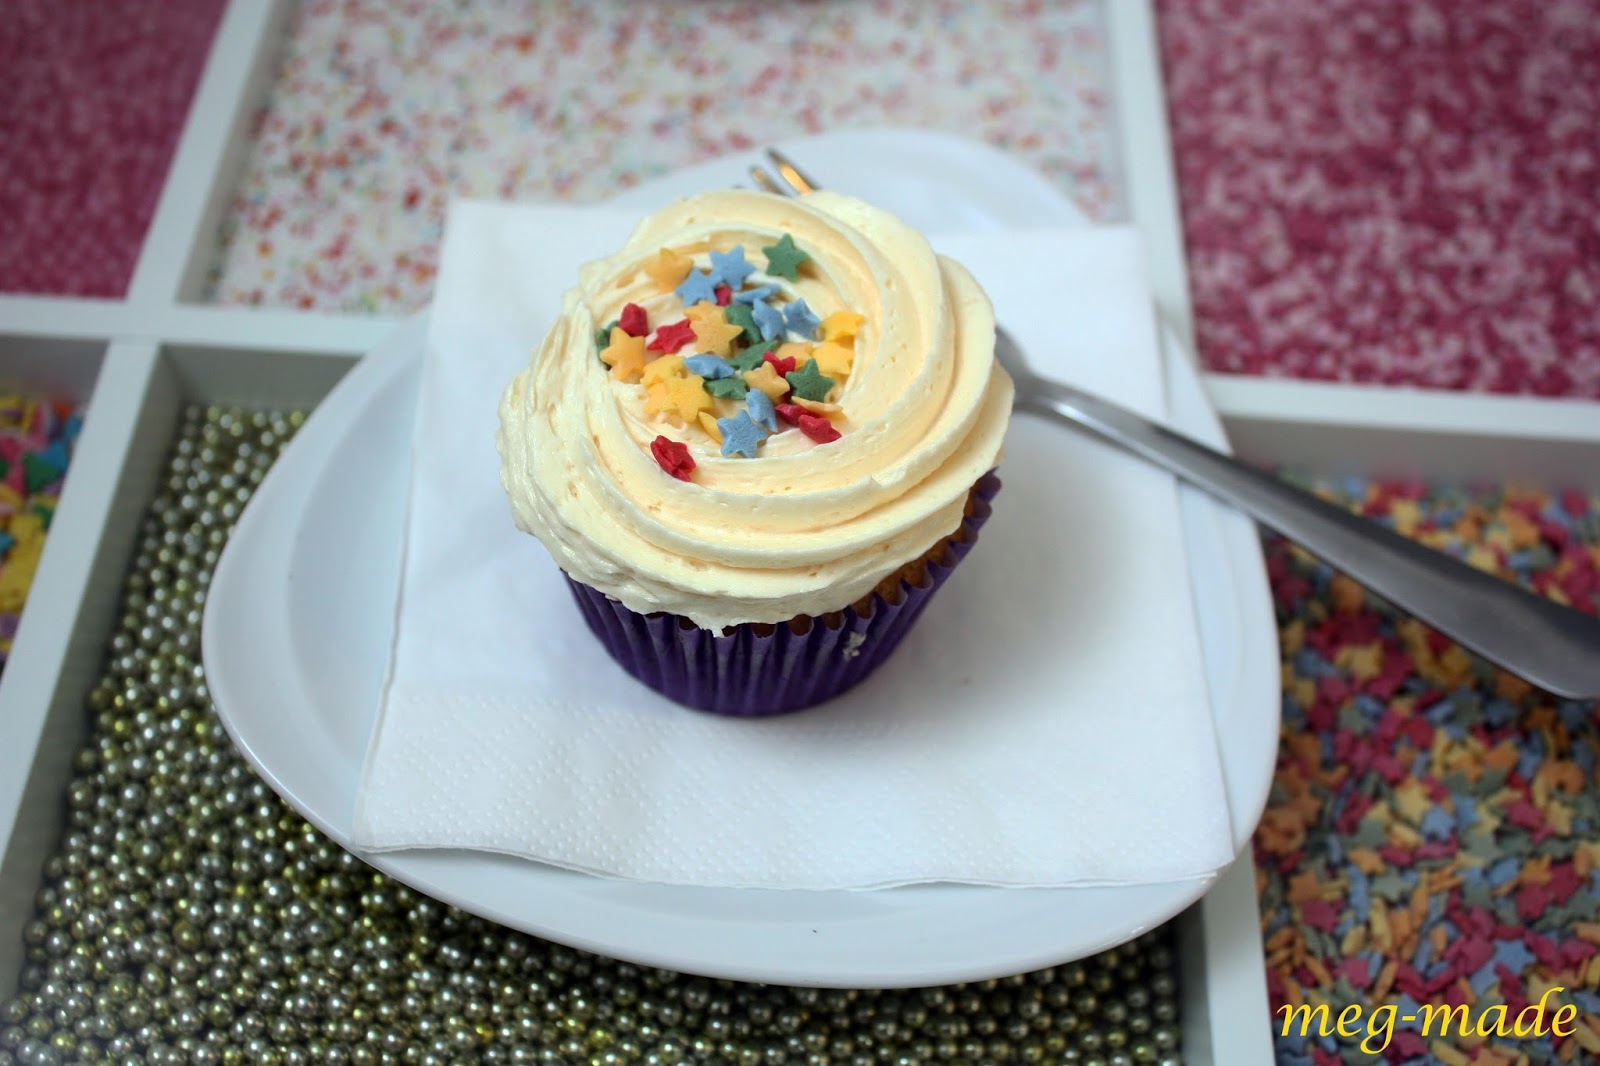
But of the 6 different GF cupcakes that were available when we were there, vanilla was the only non-chocolate option and so was my choice/only hope!


And so I took them both! Haha oops. 


And they certainly lived up to my extremely high expectations.

Fluffy.

Light.

Sweet.

But not too sweet.

Cupcake tasting, not xantham gummy at all.

Buttercream frosting that tastes the most similar to mine that we've found from a bought store.


I was a happy girl! I would go as far as saying that it was the best gluten free cupcake I've ever had!!!!!!


And fresh off the bat of her own birthday cake, there was a certain other little girl who wanted some too!!!


It was a raging success all round and we are definitely going to be back at Sweet Things again soon. I have a friend who just so happens to live in Primrose Hill, I think we may need to meet on her turf more often from now on!!!

I mean, even the toilets had appropriately sweet artwork too!!


Amen.

post signature

24 June 2013

Ribbon Tidy-Up

I have built up quite a collection of ribbons over the past few years, I just love them. I love wrapping presents and then tying them up with beautiful ribbons. I use ribbons for so many purposes and so its only right that I have a fair stash of options. But, when the stash begins to look like this, its time for an overhaul!


I found these large paddlepop sticks/popcicle sticks around the house and decided they would be the perfect tool to use to wrap the ribbons around. I invisaged this little project taking me ten minutes to tidy up these ribbons, but an hour later, I was still swirling away. But it was worth doing. It has reduced the space enormously and they are now all organised and neat and tidy.


Ground-breaking stuff? Perhaps not. But it was a fun little project and I think it makes a bit of a feature of something that was otherwise shoved in a box under my bed.


post signature